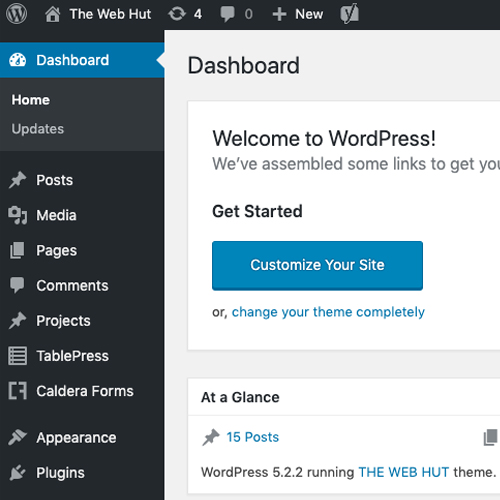
Install WordPress using Cpanel & FTP
Installing WordPress should be a very simple process and takes less than five minutes to complete. Most web hosts offer tools to assist you in installing WordPress, however I find the manual install fairly easy and prefer to have control over certain elements. The following guide will assist you in installing WordPress via Cpanel and FTP.
Download and Extract WordPress
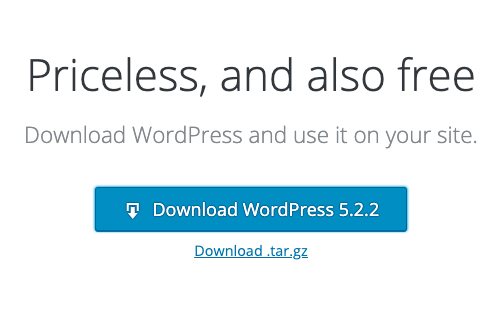
Download and unzip the WordPress package from https://wordpress.org/download/.
Create the Database and a User using phpMyAdmin
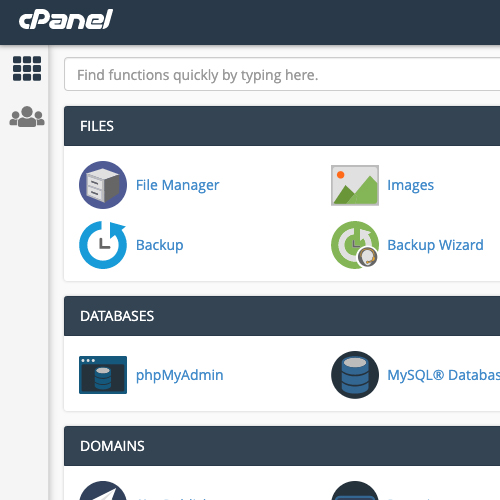
Login to your hosting Cpanel, and select My SQL Databases
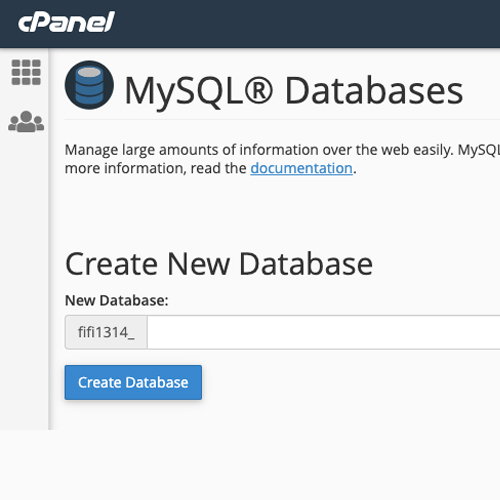
Under Create New Database, choose a name for your WordPress database. Most hosting services will require a name beginning with your username and an underscore, and this part of the name will not be editable.
It is also best to create a random database name, similar to a strong password, for security reasons. Enter your chosen database name in the Create database field and click Create Database
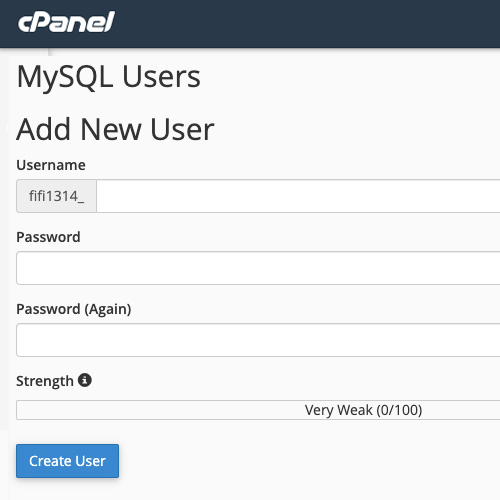
Scroll down to MySQL Users >> Add New User and add a username and password for your database. Again, is best to create a random username and password for security reasons.
Note down the Database Name, Username & Password you’ve created as you’ll need them later when installing WordPress
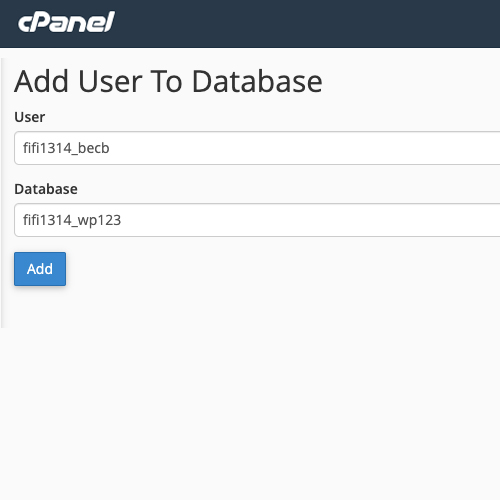
Scroll down to Add User To Database, select the User and the Database, and click Add
Set up wp-config.php
Return to where you extracted the WordPress package in Step 1, and rename the file wp-config-sample.php to wp-config.php.
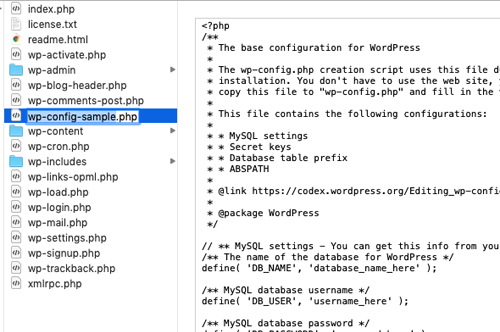
Open wp-config.php in a text editor, or web program such as Dreamweaver.
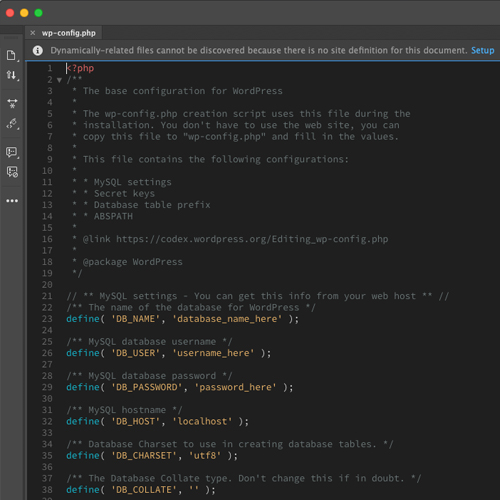
Enter the following database info into your wp-config.php file:
- DB_NAME – The name of the database you created above for WordPress
- DB_USER – The username you created above for WordPress
- DB_PASSWORD – The password you chose above for the WordPress username
Then save the wp-config.php file.
Upload the files via FTP
Note: The name and location of your root web directory in the filesystem on your web server will vary across hosting providers and operating systems. We usePublic_HTML below. Check with your hosting provider or system administrator if you do not know where this is or what it is called.
You will need to decide where on your domain you’d like your WordPress-powered site to appear:
- In the root directory of your website. (For example, http://example.com/)
- In a subdirectory of your website. (For example, http://example.com/blog/)
Using a File Transfer Program (FTP) such as FileZilla, login to your hosting account’s FTP and look for the Public_HTML folder.
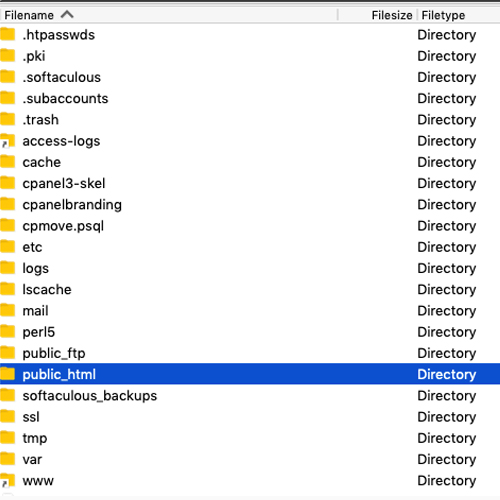
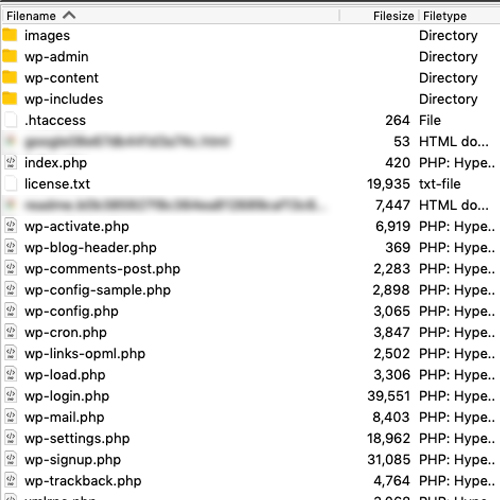
If you want your WordPress website to sit on the main domain name (ie https://example.com), upload all your WordPress files from your computer to this main folder.
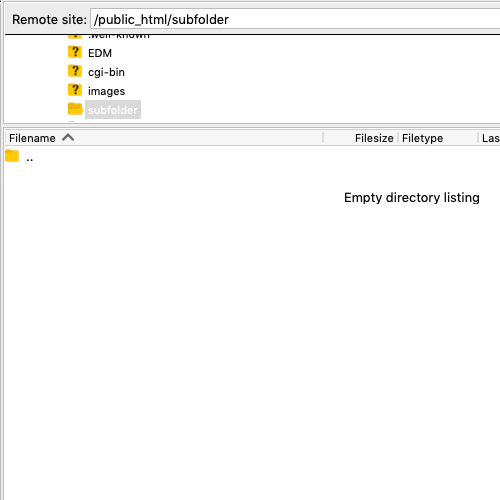
If you want your WordPress website to sit in a sub-folder of your domain (ie https://example.com/subfolder), create a new directory, name it (ie subfolder) and upload all your WordPress files from your computer to this newly created folder.
Run the Install Script
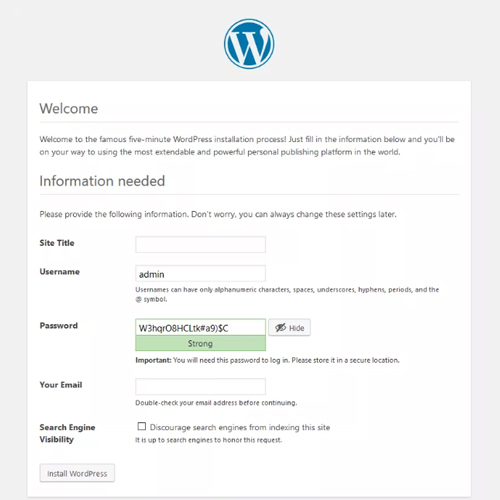
Open your web browser and navigate to one of the following pages to start the installation script.
- If you placed the WordPress files in the main or root directory, you should visit: http://example.com/wp-admin
- If you placed the WordPress files in a subdirectory called (ie subfolder), you should visit: http://example.com/subfolder/wp-admin
Enter your site title, your desired user name, your choice of a password (twice), and your e-mail address. If you would like search engines such as Google to index your site, leave the discourage search engines from indexing this site box unchecked.
Click Install WordPress
You should now be direct to your WordPress Dashboard.
If you aren’t, please see WordPress installation troubleshooting tips for more info.
